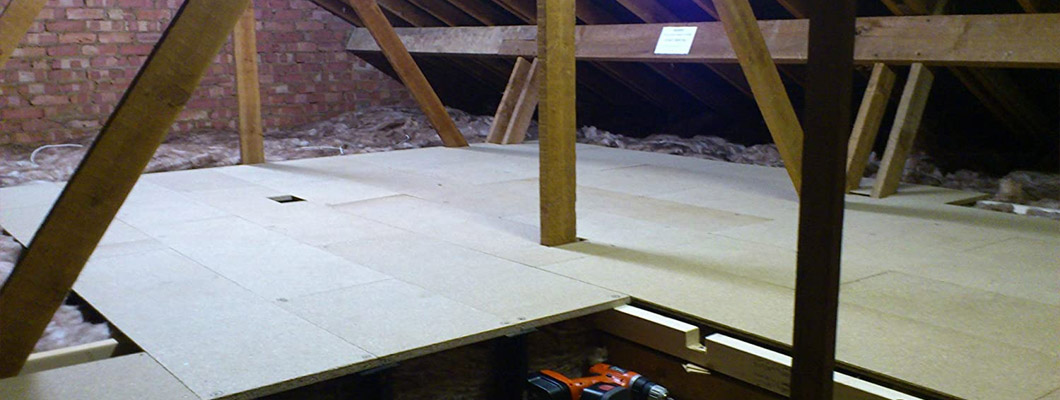
Loft boards and stilts are a great way to create additional storage space in your home without taking up valuable floor space. Whether you have a small apartment or a large house, adding loft boards and stilts can help you make the most of your vertical space. In this guide, we will walk you through the steps of installing loft boards and stilts in your home.
Loft boards and stilts are a great way to create additional storage space in your home without taking up valuable floor space. Whether you have a small apartment or a large house, adding loft boards and stilts can help you make the most of your vertical space. In this guide, we will walk you through the steps of installing loft boards and stilts in your home.
Before you begin, it's important to note that this project requires some basic carpentry skills and tools. You will need a saw, a drill, a measuring tape, a level, and a ladder. You should also have someone to help you with the installation, as it can be dangerous to work alone on a ladder.
Check our insulation page here
Step 1: Measure the space
The first step in installing loft boards and stilts is to measure the space where you will be installing them. Measure the width, length, and height of the area to determine the size of the boards and stilts you will need. You should also measure the distance between the floor and the ceiling to make sure you have enough headroom to comfortably use the space.
Step 2: Choose your materials
Next, you will need to choose the materials for your loft boards and stilts. The most common materials for loft boards are wood, metal, and composite. Wood is the most traditional choice, but it can be more expensive and may require more maintenance. Metal is a more modern option that is lightweight and easy to install, but it may not be as strong as wood. Composite materials are a good compromise between the two, offering strength and durability at a lower cost.
For the stilts, you can use either wood or metal. Wood is more traditional, but it can be more expensive and may require more maintenance. Metal is a more modern option that is lightweight and easy to install, but it may not be as strong as wood.
Step 3: Cut the loft boards
Once you have chosen your materials, you will need to cut the loft boards to size. Measure the width and length of the space where you will be installing the boards, and use a saw to cut the boards to size. If you are using wood, you may want to sand the edges of the boards to make them smooth.
Step 4: Install the stilts
Now it's time to install the stilts. The stilts are what support the loft boards and create extra storage space. Begin by marking the location of the stilts on the ceiling. The stilts should be spaced about 16 inches apart, or according to the manufacturer's instructions.
Next, drill pilot holes in the ceiling where you have marked the locations of the stilts. Use a level to make sure the stilts are straight. Then, screw the stilts into the ceiling using the screws provided.
Step 5: Install the loft boards
Once the stilts are in place, it's time to install the loft boards. Begin by placing the first loft board on top of the stilts. Make sure the board is level, and use screws to attach it to the stilts. Repeat this process until all of the loft boards are in place.
Step 6: Finish the installation
Once all of the loft boards are in place, your installation is complete. You can now use the space for storage or as a platform for other activities. If you are using the space for storage, you may want to add some dividers or bins to help keep your items organized.
Installing loft boards and stilts is a great way to create additional storage space in your home without taking up valuable floor space. In this guide, we walk you through the steps of measuring the space, choosing materials, cutting the loft boards, installing the stilts and loft boards, and finishing the installation. With some basic carpentry skills and tools, you can easily add extra storage or a platform to your home.


