


")


Are you thinking about installing Cedral cladding on your property but your unsure of how easy the installation process is?
Cedral cladding is a relatively easy product to install, read on to find out step by step how to install Cedral weatherboards onto your property.
First of all, before you even start the installation process you must ensure that your boards are stored on something that raises them off the ground to ensure that they don't get wet from exposure to puddles
Cutting The Weatherboards when cutting your weatherboards ensure that you have the correct setup for the job. If you are only doing a small job then a hand saw can be used, for larger cladding jobs a diamond busted saw blade is the ideal tool to speed up the process.
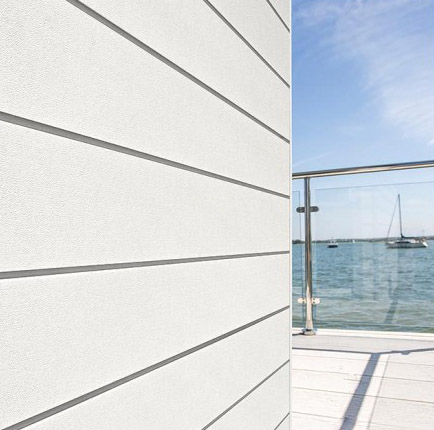
Click Cladding
Timber battens are fitted vertically to your property wall with spaces of 600mm between the centre of each batten. Single fixing battens are recommended to be 75mm x 38mm and joint battens are recommended to be 100mm x 38mm. There must be a minimum of a 10mm space from the top of the vertical batten to the top of the wall and a 150mm space at the bottom of the batten to the floor.
The next step is to staple the waterproof strips onto the battens, this ensures that they don't get water from the exterior of the cladding on them helping the battens last longer.
Next, fit Cedral Aluminium Perforated Closure trims at the bottom, top, and under and over windows. These trims help allow for airflow underneath the cladding.
The Cedral profiles are used to be fitted all around the edge top and the sides of the wall on top of the perforated closure trims. Then the Cedral starter profile fitted at the bottom of the wall on top of the perforated closure trims, make sure this is perfectly level before fitting it.
The final step is the start of the weatherboards. First, place the bottom click board on the starter profile and fit the clip using screws on every batten. Simply repeat this process until the wall is fully boarded
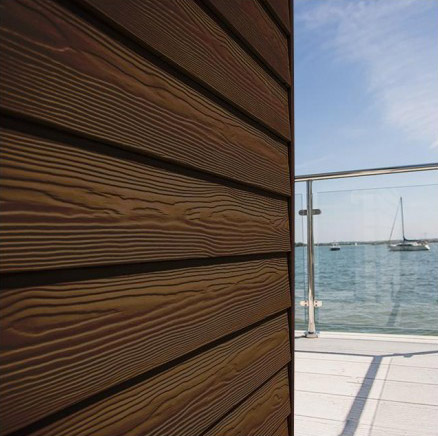
Lap Cladding
Timber battens are fitted vertically to your property wall with spaces of no more than 600mm between the centre of each batten. Single fixing battens are recommended to be 75mm x 38mm and joint battens are recommended to be 100mm x 38mm. Ensure there is a minimum of a 30mm gap at the rear of the board.
Next, fit Cedral Aluminium Perforated Closure trims at the bottom, top, and under and over window frames. These trims allow for airflow underneath your cladding.
The Cedral profiles are to be fitted all around the edge top of the wall over the top of the perforated closure trims, these trims also go around door frames. Then the Cedral starter profile fitted at the bottom of the wall on top of the perforated closure trims, make sure this is perfectly level before fitting it. Next, the first board is placed are placed and screwed in one by one with a screw in each wall batten.
After reading this we hope you have a good idea of how you can get started installing Cedral on to your property.